
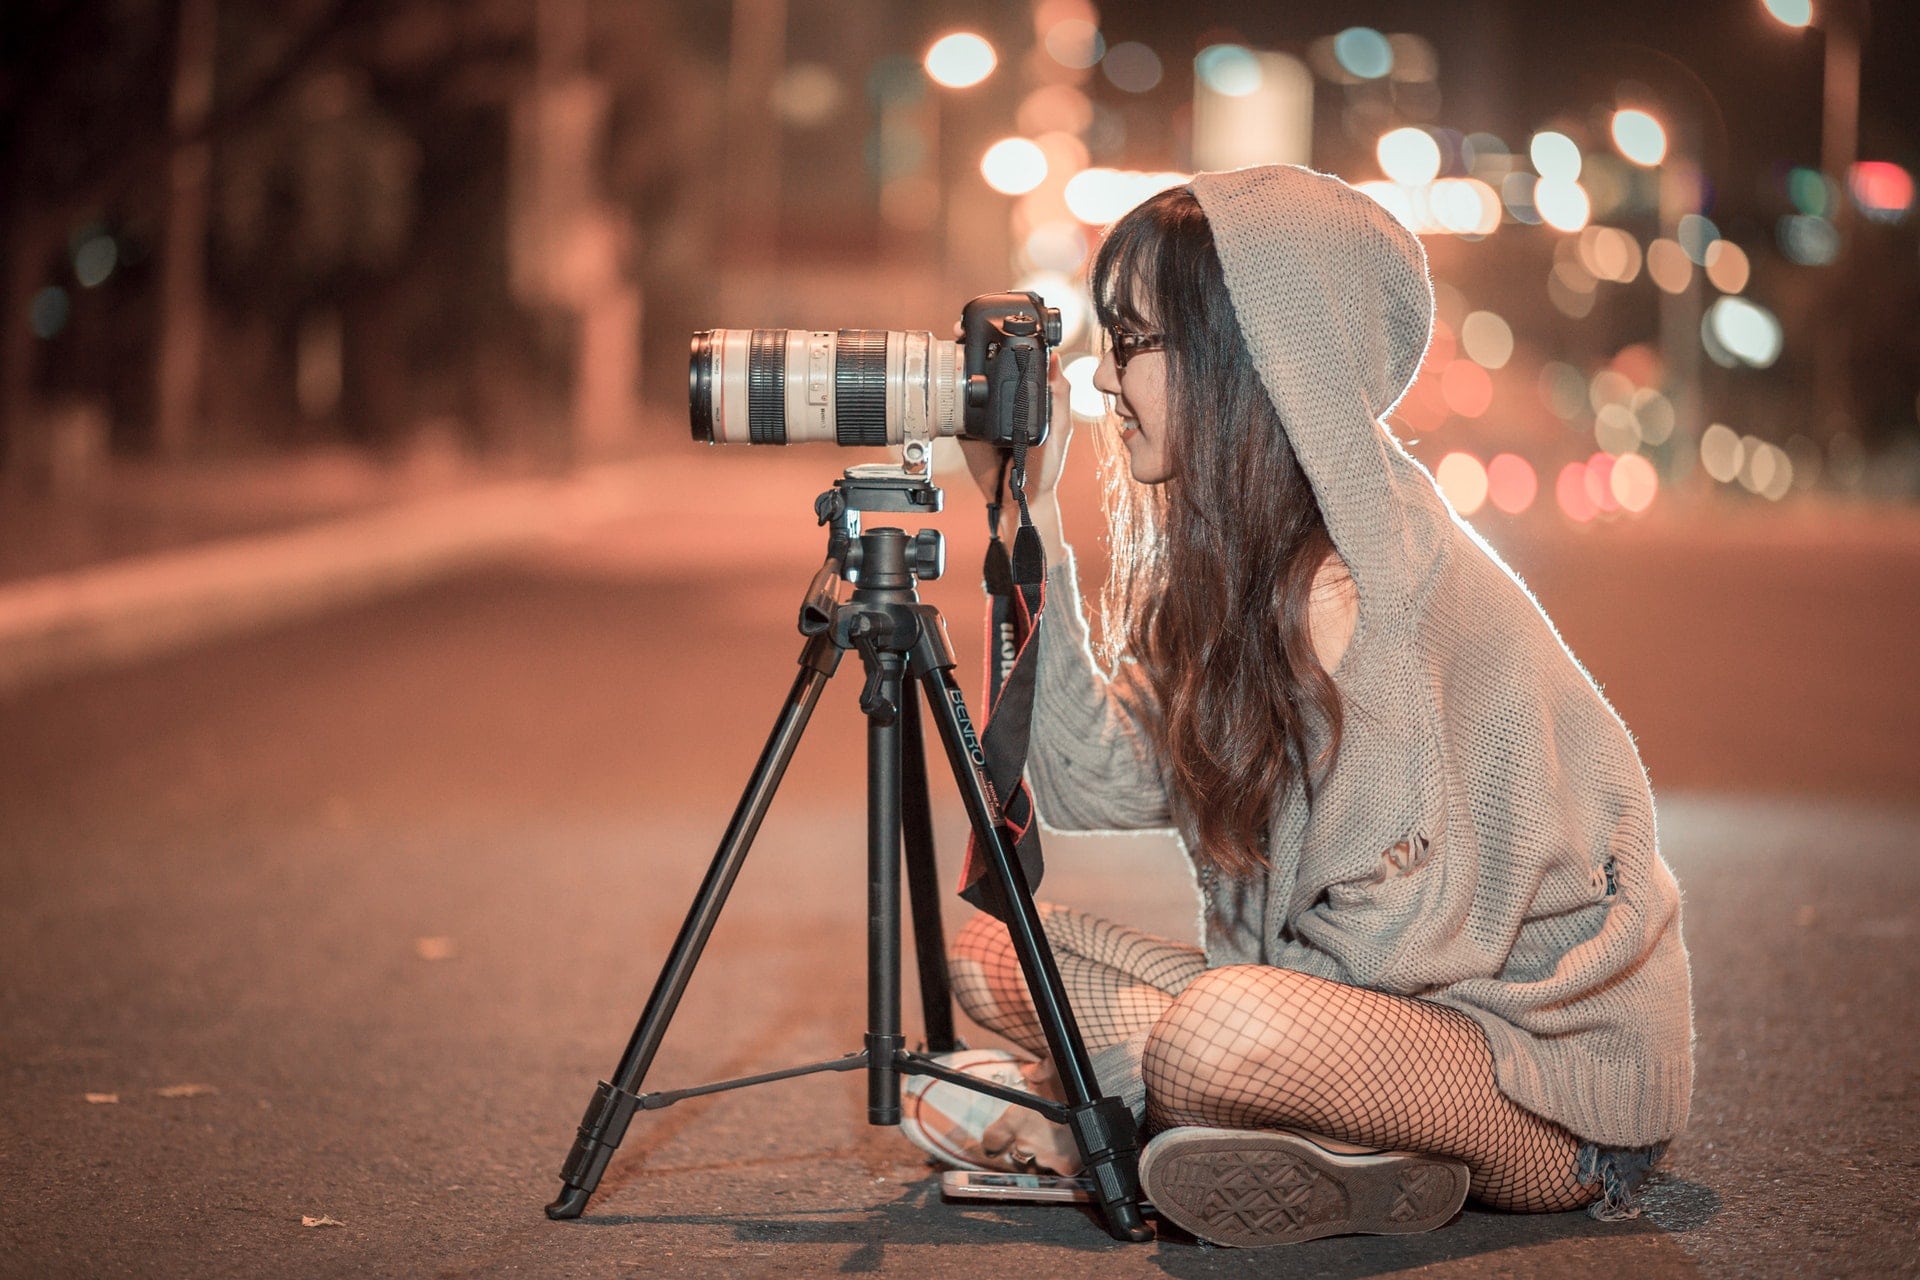
Photography is a captivating blend of art and technique, but whether you’re a beginner or a seasoned shooter, challenges are part of the journey. Blurry images, poor lighting, or uninspired compositions can feel frustrating, but fear not! This article dives into 10 common photography pain points and offers practical, easy-to-apply solutions to help you overcome obstacles and capture stunning images with every click of the shutter.
1. Camera Shake: Steady Your Shots
Blurry photos from handheld shooting are a common headache, often caused by shaky hands or slow shutter speeds. Here’s how to stabilize your images:
- Increase Shutter Speed: Opt for a faster shutter speed (e.g., 1/250s or higher) to freeze motion and reduce blur. Adjust ISO and aperture to maintain proper exposure.
- Use a Tripod or Monopod: A tripod is perfect for low-light or long-exposure shots, while a monopod offers stability with more mobility.
- Enable Image Stabilization: Most modern cameras and lenses feature stabilization (e.g., IS, VR, or OIS). Turn it on to minimize shake.
- Adopt Proper Grip: Hold the camera close to your body, tuck your elbows in, and press the shutter gently while breathing steadily.
Pro Tip: Practice the “exhale technique”—press the shutter while exhaling slowly for extra stability. For extended shoots, use a remote shutter release to avoid touching the camera.
2. Low Light: Illuminate Your Vision
Shooting in dim conditions—like indoors or at dusk—often results in noisy or dark images. Here’s how to tackle low-light challenges:
- Use a Tripod with Low ISO: A tripod allows slower shutter speeds, letting you keep ISO low (e.g., 100 or 200) for cleaner images with less noise.
- Add Light Sources: Indoors, try external flashes, ring lights, or LED panels. Outdoors, use reflectors to bounce natural light onto your subject.
- Choose a Fast Lens: L dossiers with wide apertures (e.g., f/1.4 or f/2.8) let in more light, ideal for low-light environments.
- Leverage Ambient Light: Position your subject near windows, streetlights, or other natural sources for soft, flattering illumination.
Pro Tip: Shoot in RAW format to retain more detail, making it easier to adjust brightness and noise in post-processing. Experiment with light painting in long exposures for creative effects.
3. Out-of-Focus Shots: Nail Sharp Details
When your subject is blurry or the focus misses the mark, your image loses impact. Here’s how to ensure razor-sharp focus:
- Master Focus Modes: Use single-point autofocus (AF-S) for still subjects and continuous autofocus (AF-C) for moving ones.
- Switch to Manual Focus: In tricky conditions like low light or high contrast, manual focus gives you precision. Zoom in on the LCD to check details.
- Select the Right Focus Point: Place the focus point on your subject’s key area (e.g., eyes in portraits) to avoid the camera locking onto the background.
- Use Focus Lock: Half-press the shutter to lock focus, then recompose for off-center compositions.
Pro Tip: Enable your camera’s “focus peaking” feature to highlight in-focus areas during manual focusing. For portraits, use eye-detection autofocus (Eye AF) for pinpoint accuracy.
4. Incorrect Exposure: Balance Light and Shadow
Overexposed (too bright) or underexposed (too dark) photos can ruin your vision. Here’s how to achieve perfect exposure:
- Use Exposure Compensation: Adjust exposure value (EV) up (+EV) or down (-EV) to fine-tune brightness based on the scene.
- Understand the Exposure Triangle: Aperture, shutter speed, and ISO work together. For example, in low light, widen the aperture or raise ISO to brighten the image.
- Check the Histogram: Review your camera’s histogram after shooting to ensure highlights and shadows retain detail, avoiding clipped areas.
- Select the Right Metering Mode: Use matrix metering for balanced scenes, center-weighted for portraits, or spot metering for precise control.
Pro Tip: Try exposure bracketing to capture multiple shots at different exposures, then blend them into an HDR image for maximum dynamic range.
5. Composition Issues: Craft Compelling Frames
Composition is the heart of photography, turning ordinary scenes into captivating stories. Here’s how to elevate your compositions:
- Apply the Rule of Thirds: Divide the frame into a 3×3 grid and place your subject along the lines or at intersections for a balanced, dynamic look.
- Use Leading Lines: Roads, fences, or rivers can guide the viewer’s eye through the image, adding depth and movement.
- Simplify the Background: Change your angle or use a wide aperture to blur distracting backgrounds, making your subject pop.
- Embrace Negative Space and Balance: Leave empty space for a sense of calm and ensure elements are distributed evenly to avoid a lopsided frame.
Pro Tip: Break the rules with symmetrical compositions, minimalist frames, or unusual angles for a unique perspective. Try “framing” your subject with doorways or branches for added narrative.
6. Color Balance: Achieve True-to-Life Tones
Color casts (e.g., yellowish or bluish tints) can make photos look unnatural, especially under mixed lighting. Here’s how to correct colors:
- Adjust White Balance: Match the white balance to the light source (e.g., daylight, tungsten, or fluorescent) or use a custom Kelvin setting for precision.
- Shoot in RAW: RAW files preserve more color data, allowing flexible white balance adjustments in post-processing without quality loss.
- Post-Process Color Correction: Use Lightroom or Photoshop’s curves, levels, or HSL tools to fine-tune colors for natural or stylized results.
- Control Light Sources: Avoid mixed lighting (e.g., daylight and fluorescent) or use gels to unify color temperature.
Pro Tip: Study color theory to use complementary (e.g., blue and orange) or analogous (e.g., red, orange, yellow) colors for emotional impact.
7. Digital Noise: Keep Your Images Clean
High ISO settings often introduce grainy noise, degrading image quality. Here’s how to minimize noise:
- Lower ISO When Possible: Stick to low ISO values (100 or 200) in good light. If high ISO is needed, ensure shutter speed and aperture are optimized.
- Use a Tripod: Stabilize the camera to allow longer exposures, reducing the need for high ISO.
- Post-Process Noise Reduction: Tools like Lightroom, Topaz DeNoise AI, or DxO PhotoLab can remove noise while preserving details.
- Invest in Better Gear: High-end cameras and lenses perform better at high ISOs, offering cleaner images if your budget allows.
Pro Tip: Differentiate between luminance noise (grain) and color noise (splotches) in post-processing for targeted reduction. Try image stacking—combining multiple low-ISO shots—for ultra-clean results.
8. Vignetting: Even Out Your Frame
Vignetting, where photo edges darken, can disrupt visual harmony, often due to lens design or filters. Here’s how to fix it:
- Check Lenses and Filters: Wide-angle lenses or low-quality filters can cause vignetting. Use lens correction filters or higher-quality accessories.
- Correct in Post-Processing: Lightroom or Photoshop’s “Lens Correction” tool can automatically or manually fix vignetting for uniform brightness.
- Stop Down the Aperture: Shooting at f/8 or f/11 reduces vignetting in some lenses.
- Crop the Image: If vignetting is minimal, cropping the edges can quickly resolve the issue.
Pro Tip: Subtle vignetting can enhance focus on the subject. Add a controlled vignette in post-processing for a dramatic or cinematic effect.
9. Awkward Poses: Natural Portraits Made Easy
In portrait photography, stiff or unnatural poses can make photos feel forced. Here’s how to capture relaxed, authentic poses:
- Build Rapport: Chat with your subject before shooting to ease tension. A little encouragement or humor can boost their confidence.
- Use Pose References: Keep a collection of classic portrait poses (e.g., leaning against a wall, hands in pockets, or hair toss) tailored to the subject’s body type and setting.
- Guide Movement: Ask subjects to walk, turn, or adjust clothing for candid, natural moments instead of static poses.
- Watch Details: Ensure hands are relaxed, shoulders are down, and chins are slightly forward to avoid awkward angles.
Pro Tip: Use burst mode to capture fleeting expressions, then select the best frame. Incorporate environmental portraiture by blending subjects into their surroundings for storytelling depth.
10. Post-Processing: Polish Your Masterpiece
Post-processing can transform good photos into great ones, but beginners often find it daunting. Here’s how to get started:
- Learn Core Tools: Master Lightroom or Photoshop basics like exposure, contrast, sharpening, white balance, and curves adjustments.
- Build a Workflow: Start with global adjustments (exposure, white balance), then move to local edits (blemish removal, detail enhancement) for efficiency.
- Explore Tutorials: YouTube, Udemy, or photography forums offer free and paid tutorials to accelerate your learning.
- Avoid Over-Editing: Keep edits subtle to maintain authenticity, steering clear of excessive sharpening or oversaturated colors.
Pro Tip: Use presets to streamline your workflow, customizing them to match your style. Learn masking techniques to adjust specific areas precisely for professional-grade results.
Conclusion: Ignite Your Photography Journey with Skill and Passion
The world of photography is full of challenges, but each hurdle is a stepping stone to mastery. From steadying your camera to crafting compelling compositions, from balancing colors to perfecting post-processing, these 10 practical tips empower you to turn obstacles into opportunities. With practice and patience, you’ll transform technical know-how into creative magic, capturing images that resonate and inspire.
Photography is more than a craft—it’s a language for storytelling, a canvas for emotion, and a lens for seeing the world anew. Whether you’re chasing golden sunsets, cherished family moments, or quiet urban details, every shutter click is a chance to create something extraordinary. Embrace the learning curve, celebrate your progress, and let each “imperfect” shot fuel your growth.
Take Action Today!
- Try One Tip: Pick a technique from this article, grab your camera, and put it into practice today.
- Join a Community: Share your work on platforms like X, Instagram, or local photography clubs to exchange ideas and inspiration.
- Keep Growing: Subscribe to photography magazines, follow pro photographers’ tutorials, and revisit your images to track your evolution.
Your photography adventure is just beginning. Step into the light, frame your vision, and capture the moments that make life unforgettable!
發佈留言